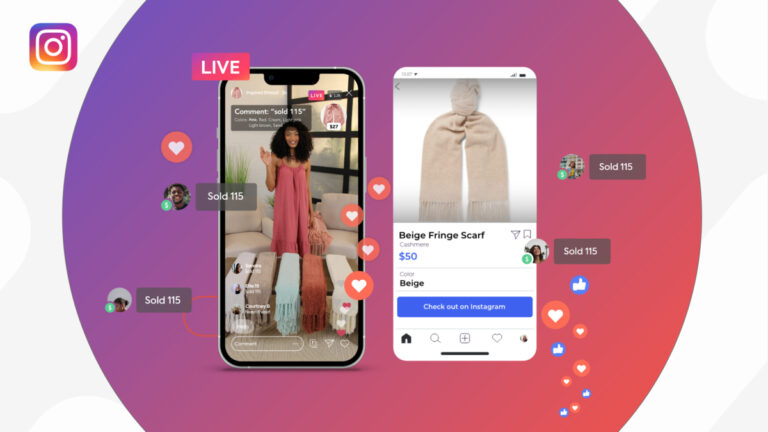
Consumers today can be found browsing all across the web to get their retail fix, but nowhere can you find a higher concentration of engaged shoppers than on Facebook.
To tap this massive market, you need to create a brand presence where they’re at. More specifically, your boutique needs a Facebook business page.
A Facebook business page is a free promotional page that represents your business and showcases your products and services. It can help you meet more customers, humanize your company, and sell to a highly targeted audience.
Ready to get started with this powerful tool? Take these steps to make an inviting and easily discoverable Facebook business page for your brand.
Sign up as a Business
To get started, you must be logged into your personal Facebook profile. Enter Facebook for Business, then click on “Create a Page” in the top right corner to begin.
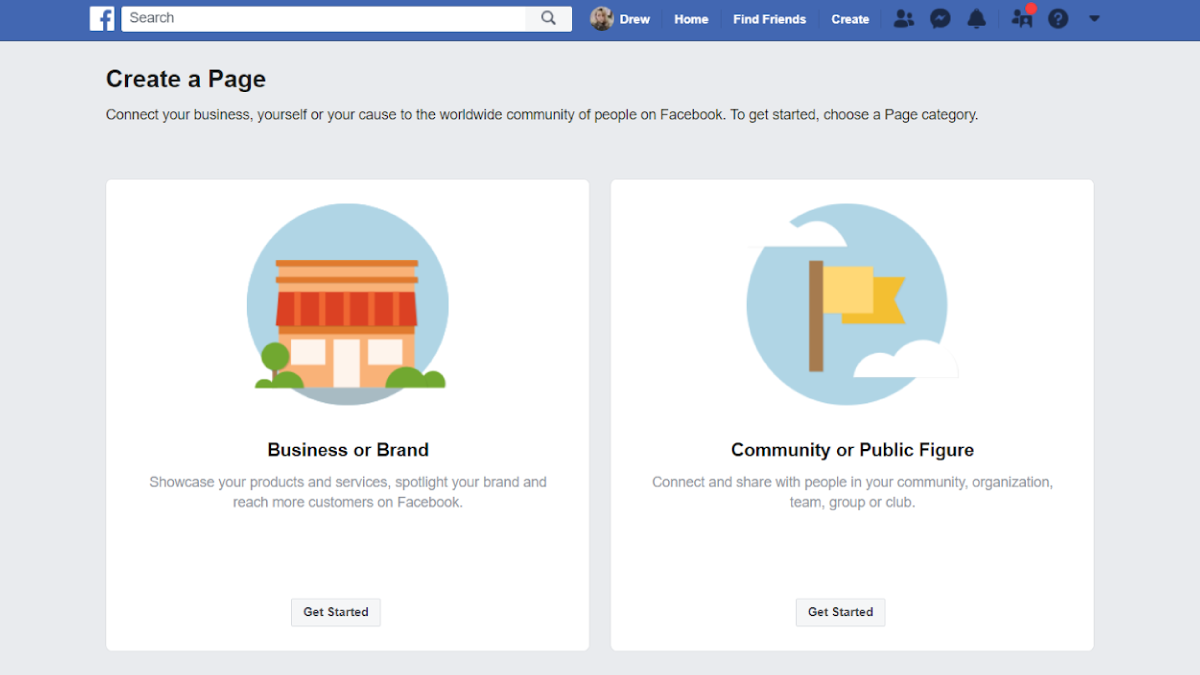
First, you must choose whether you’re a business or public figure. Click “Get Started” under “Business or Brand”. Next, plug in your essential business info.
Page Name
Choosing a name for your Facebook business page is an important matter, so think about this carefully. Your page’s name is not something you can edit easily.
If your business is already established, then it should be the name your customers would most easily recognize. Remember, people that are looking for your business are probably going to search for its name first.
We strongly recommend excluding abbreviations for your business unless it’s something you’re known for. If you’re thinking about doing business under another name soon or you’re still deciding what to name your future business, wait until you’ve finalized it.
Category
Next, it will ask you to type a word or two to describe your business. There are a few business categories for retailers to choose from. Select a category that best defines your business.
Here are the top business categories for apparel and accessory retailers:
-
- Women’s Clothing Store
- Baby & Children’s Clothing Store
- Maternity & Nursing Clothing Store
- Bridal Shop
- Jewelry & Watches Store
Address
Whether you do business out of your home, a warehouse, or a brick and mortar store, the address for your place of business is required to create a Facebook page.
If you prefer to keep your address private, tick the checkbox at the bottom of the page to only display your city and state. However, if this is a storefront location, we recommend you keep this public so can share it with your customers.
Phone Number
Add your business number so customers can contact you or your team members. Remember, this number is public. Be cautious about adding personal phone numbers. Business numbers are best.
If you don’t want to enter a number, that’s fine too. This field is optional.
Upload Brand Images
Next, you’ll be uploading images that visually represent your brand and make your page really shine.
Profile Picture
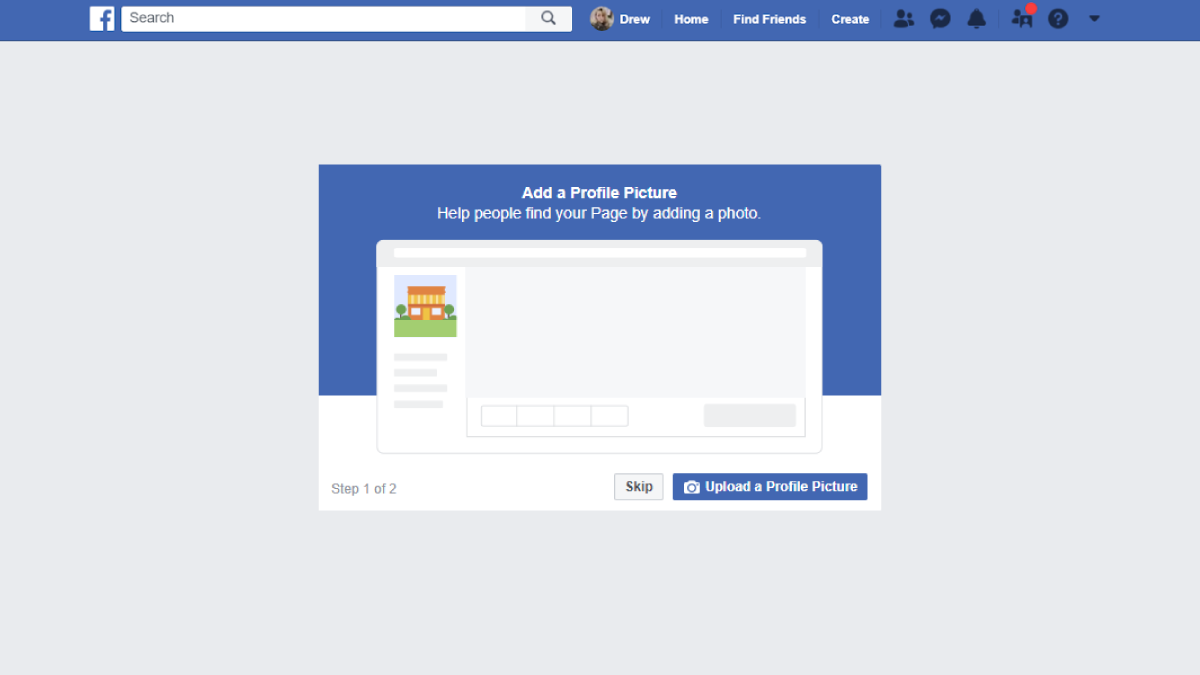
A profile picture is a must for any page! We recommend you use your logo for your profile picture. This gives your page a professional look and enforces brand familiarity whenever customers see it.

Use a 360×360 image for the best quality profile photo. While these dimensions are a square shape, Facebook turns it into a circular shape once it is uploaded.
Cover Photo
Your Facebook cover photo, also known as a Facebook banner, is one of the first things your audience sees after entering your page. Therefore, it needs to represent your brand with high-quality images and visual appeal.
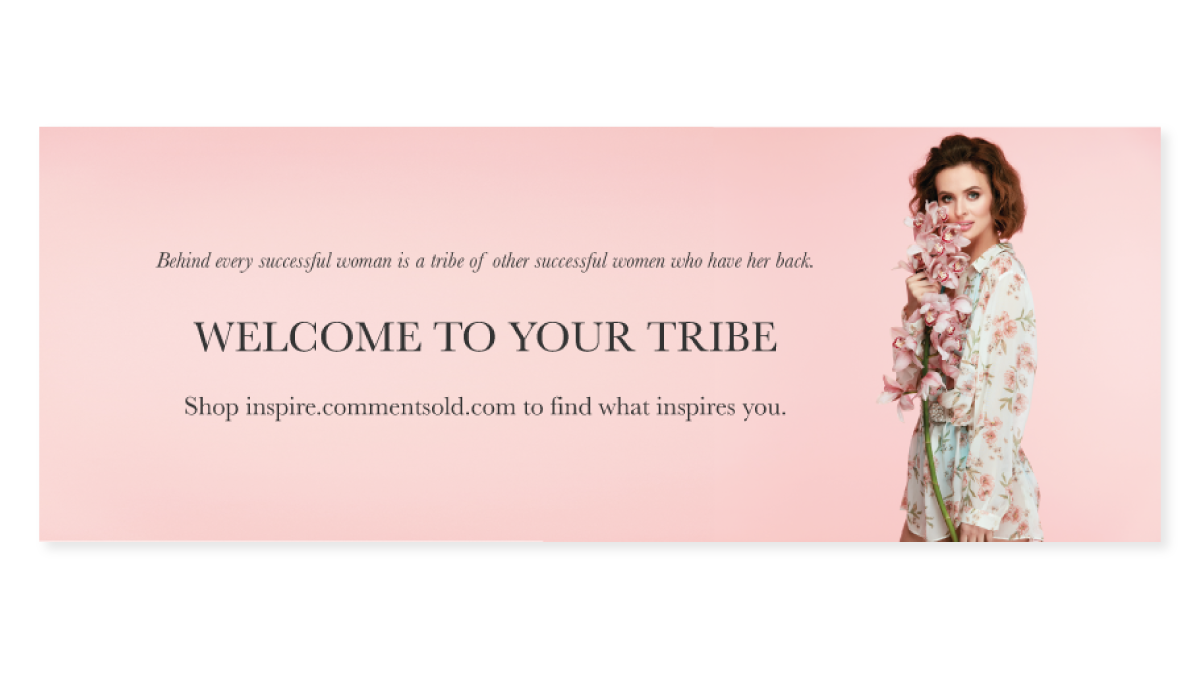
Facebook recommends using a 820×462 image for a cover photo that will look good on both smartphones and desktops.
When designing your cover photo, select colors and images that represent your brand style. You can also use this space to tease your customers. CommentSold has seen many retailers use their banner for advertising websites, promos, and Facebook Live Sales.
You can hire a graphic designer for this job, or you can easily make a cover photo yourself. We recommend using Canva for DIY cover photos. It’s free and a real no-brainer when you use Canva’s Facebook cover photo templates.
Complete Your About Section
If your audience has landed on your page, it’s because they’re interested in your business. Give them the details they’re looking for in your about section.
Below your profile picture on the left side of your business page is a menu. Enter your about section from here. Click “Edit Page Info” in the top right.
A box will pop up with details to fill in. What you enter here will be displayed specifically in your about section. Here’s an example of what this looks like once completed.
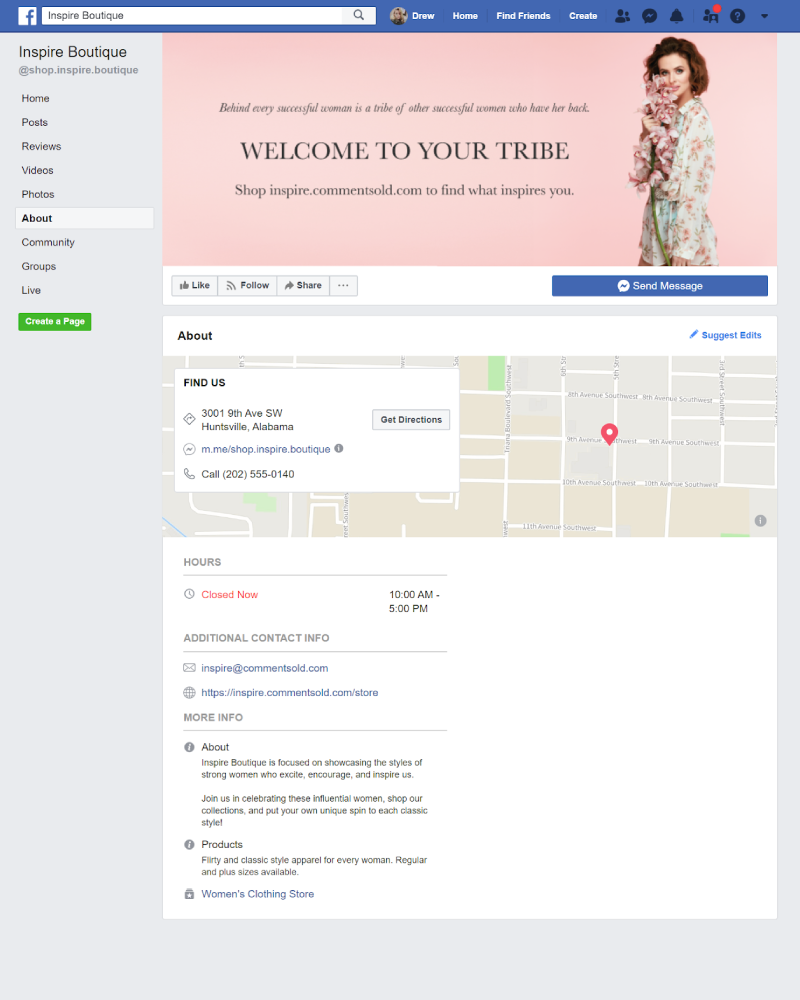
Description
Enter a short description of your business to help you get discovered more often and to introduce yourself to new customers.
Here is where you can describe your products and services. The character limit sits at 255, so keep it simple and attention-grabbing.
Phone Number
If you already entered this, it should show up here. If you didn’t do this before, now’s your chance. Just remember that it will be displayed publicly.
No phone number? Tick the box labeled “My Page doesn’t have a phone number.”
Website
Direct customers to your site by entering your website address. If you don’t have one yet, just click the box labeled, “My Page doesn’t have a website.”
Customers and potential customers will have an easier time reaching you if you publicly display your email. We recommend using a customer service email here.
If you don’t have one, you may want to create one for this purpose. Gmail accounts are free and easy to set up and to use. Just make sure you check your inbox regularly.
Address
If you’re a brick and mortar retailer, enter your address and check “Has street address” and “Customers visit my business at my street address.”
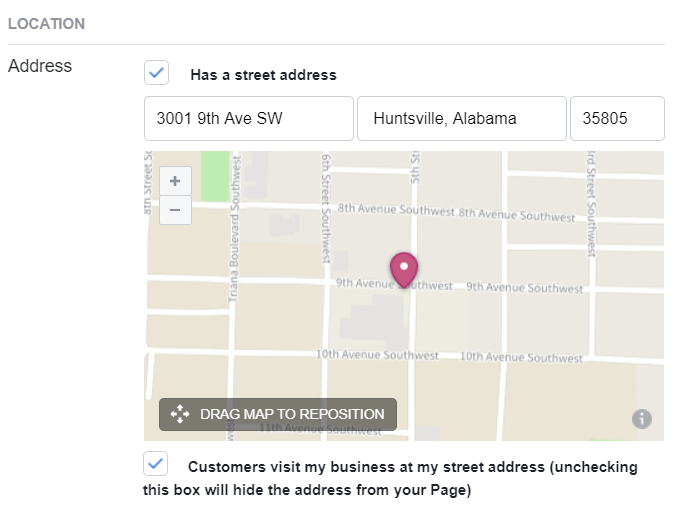
Facebook will display a pin on a map after you fill in this section. Customers can even click it to get directions from where they are.
If you’re online-only or want to keep your address private, keep these boxes unchecked.
Hours
Let customers know when you’re open! They can view your hours of operation here. You can set hours for each day, choose “no hours available,” or “always open.”
Price Range
Let your customers know your price point, so they know what to expect when shopping with you. Or don’t! It’s up to you. This part is optional.
Products
What can customers find when they shop with you? Write a short description of the styles and sizes you carry.
Tell Your Brand Story
After entering all that information, you might be tempted to skip the section. Don’t! This is one of the most important parts of your business profile.
Get personal and talk about what makes your boutique unique. Talk about your company’s journey, your brand mission, your expertise, or how you aim to serve.
Your brand story will serve as a human element that is often lost from the digital side of businesses. It’s a warm introduction and an invitation to connect with your audience.
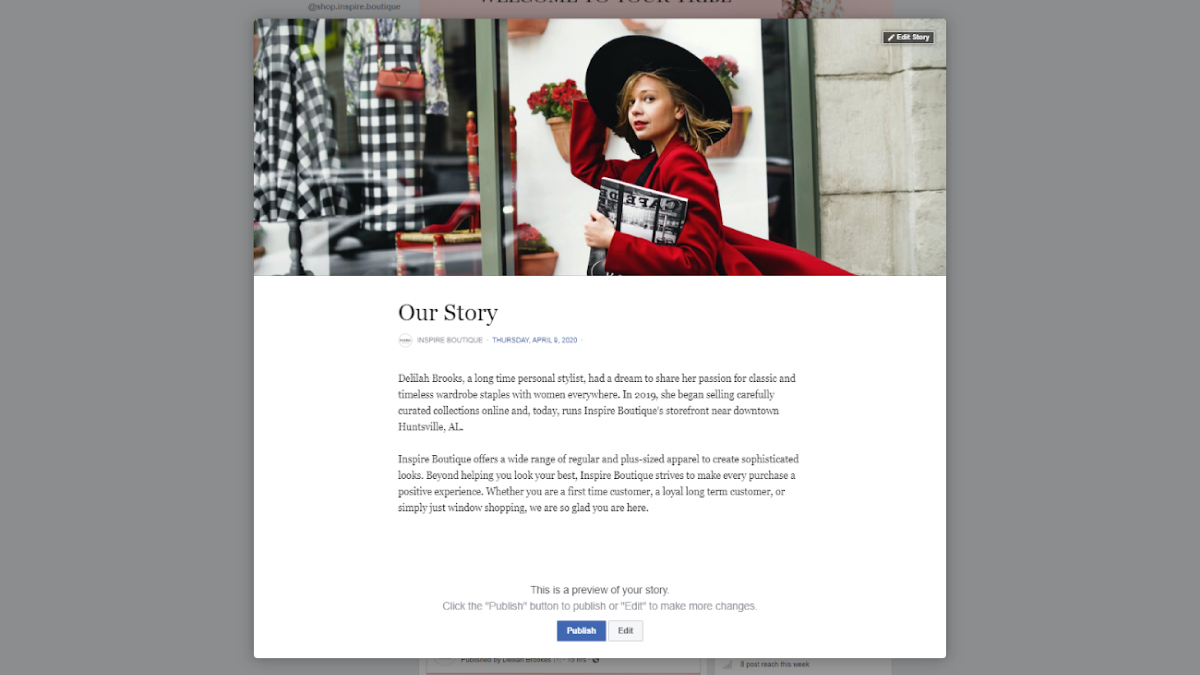
On the right side of your about section, you’ll see “Our Story.” Click “Tell people about your business.” Enter your description and click “Publish”.
The Takeaway
You’ve done it! By following these steps, you’ve completed the first step to meeting more shoppers and building lasting customer connections through social media.
With the right content and consistent engagement, your Facebook Business Page will help you drive more traffic, build more loyalty, and generate more sales. Now go out and make your first post!
Need some tips to build a buzz on your page? Read about the five methods brands use to boost their social media engagement!


